What Are Polynucleotide Injections? A Practitioners Guide
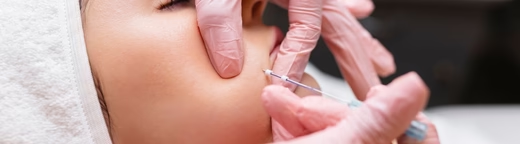
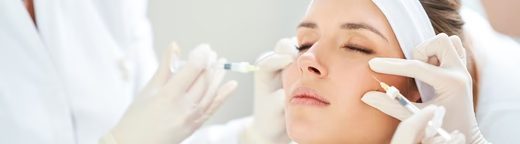
Polynucleotide injections are rapidly emerging as a game-changer in regenerative and aesthetic medicine. These treatments go beyond just skin-deep improvements; they actually work on a cellular level to repair, hydrate, and rejuvenate tissue. If you’re an aesthetics practitioner looking to stay ahead of the curve and expand your treatment offering, understanding how polynucleotides work (and […]